Sharon-Epps : |
I'm on line separately from Bill just to keep a "Computer Backup" incase one goes down while we are doing the demo. We are ready to start. Before we do, however, a hardy "Huzzah" to Kiwi. Without you man, none of the demos would be possible. Tonight we have 61 separate images, Thanks, Kiwi. | ||
Bill-Epps : |
|
||
Bill-Epps : |
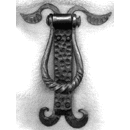
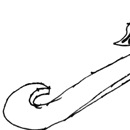
This the door knocker that we will be making tonight. | ||
Bill-Epps : |
|
|
|
Bill-Epps : |
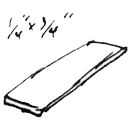
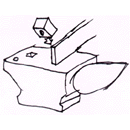
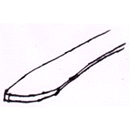
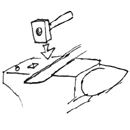
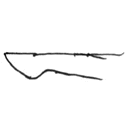
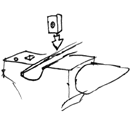
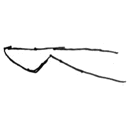
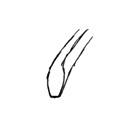
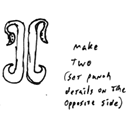
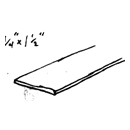
I cut two pieces of 1/4 X 3/4 flat about 12" long. We drive the corner back into itself at about a 45 deg. angle and let it spread. | ||
Bill-Epps : |
|
|
|
Bill-Epps : |
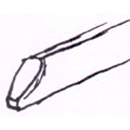
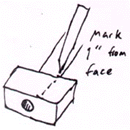
Then we flatten it back to the 1/4" thickness, and it gives you a nice radius on the end. I use a piece of soap stone and make a mark on the side of my hammer. I am making two of these pieces and I use this mark as a guage to gauge the length. | ||
Bill-Epps : |
|
|
|
Bill-Epps : |
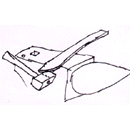
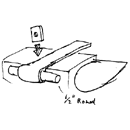
Now using the guage mark, I rotate the bar 90 deg. and set it down on the back side of the anvil; hitting 1/2 on the anvil and 1/2 off. | ||
Bill-Epps : |
|
|
|
Bill-Epps : |
This is the part that is going to make the leaf, so I drawn it down to about a 1/4" round for the stem | ||
Bill-Epps : |
|
|
|
Bill-Epps : |
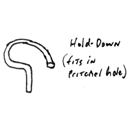
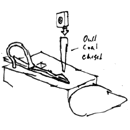
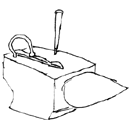
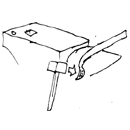
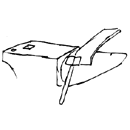
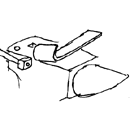
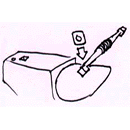
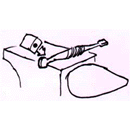
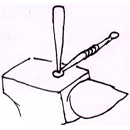
Then I use my hold down tool this is just a simple round bar that goes in the pritchell hole, and is bent so it will camlock when I tap down on it. It is made from mild steel, and quenched. I use this to hold the bar down while I do my chasing with a dull cold chisel to start my design on the leaf. | ||
Bill-Epps : |
|
|
|
Bill-Epps : |
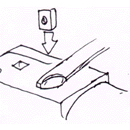
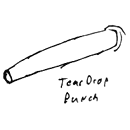
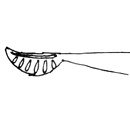
I make a line along the top of the leaf with the dull cold chisel, then I use a tear drop punch which I made from a piece of 5/8" Sucker Rod to forged and growned to a tear drop shape hardened on the end. | ||
Bill-Epps : |
|
|
|
Bill-Epps : |
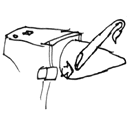
Now we curve it around the horn to make it astetically pleasing to the eye. Go to the other end and . | ||
Bill-Epps : |
|
|
|
Bill-Epps : |
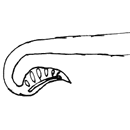
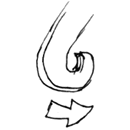
I start hammering the corner back into itself over the horn. This thickens up the point and gives it a three dimensional type curl. We do this on two separate pieces. One Right and one left. | ||
Bill-Epps : |
|
|
|
Bill-Epps : |
Now I use a Ball Pien just to texture the inside and outside of the curl just because I think it looks good. We we do this on both pieces, 1 right 1 left. | ||
Bill-Epps : |
|
|
|
Bill-Epps : |
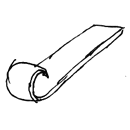
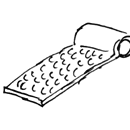
Now I cut a piece of 1/4 X 1 1/2" flat about 8" long. I bevel the end a little bit and curve it over the horn, then roll it back on itself | ||
Bill-Epps : |
|
|
|
Bill-Epps : |
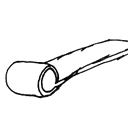
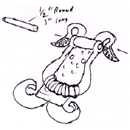
I curl it back then insert a needle (1/2" round bar about 3" long), then finish rolling it around the needle. Hang it over the back side of the anvil and flatten the back of the piece.. | ||
Bill-Epps : |
|
|
|
Bill-Epps : |
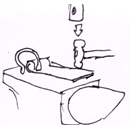
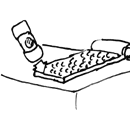
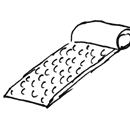
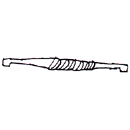
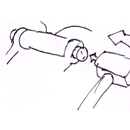
Now I use my hold down again and a ball pien hammer to put a texture on the front of it. Place the ball pien hammer and strike it with a SOFT HAMMER. (1 1/2" sq. bar 3 inches long with a piece of pipe welded on for a handle). You should never strike two hardened hammer faces together. I use this technique to get the ball pien texture on the front plate. Then I use the ball pien just to smooth down and taper the bottom edge. | ||
Bill-Epps : |
|
|
|
Bill-Epps : |
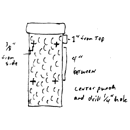
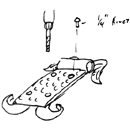
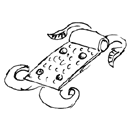
Then I center punch 4 holes. I come off each edge 3/8" and down 1 inch and then go to 5" centers. This is for my rivet holes where I join the 3 pieces together. ( I use a 1/4" X 1/2" soft rivet). I counter sink the back pieces about an 1/8" deep. | ||
Bill-Epps : |
|
|
|
Bob-Rackers : |
Don't mean to interrupt, but the drawing shows 4", and you said 5" | ||
Bill-Epps : |
The reason for the deep counter sink is so the end of the rivet has a place to spread, and the back will be flat. I use a ball pien to flare the end of the rivet, flaring it into the countersink. Now we have the base. Also, in the center drill 2 about 1/8" mounting holes for mounting on the door. We will drill the hole for the knocker rivet later. | ||
Bill-Epps : |
|
|
|
Bill-Epps : |
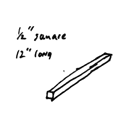
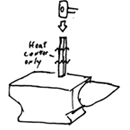
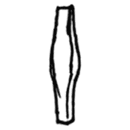
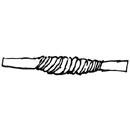
Now we cut a piece of 1/2" square about 12" long. Take a good heat in the center and we are going to bump up the middle. This is done by heating the middle of the bar and quenching each end leaving the middle about 3" hot. Putting it on the face of the anvil and hitting on the end and work from both ends, keeping it straight, cause it will try to worm some. Repeat this process until the center 3" is about 3/4" square. | ||
Bill-Epps : |
|
|
|
Bill-Epps : |
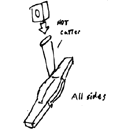
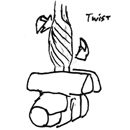
After I get it bumped up to 3/4" I use a hot cutter and crease it on 4 sides. Take another heat and give it a twist in the vice til it looks good. | ||
Bill-Epps : |
|
|
|
Bill-Epps : |
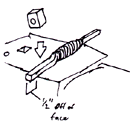
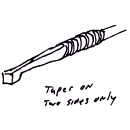
Now I put another gauge mark on my hammer. Let the end of the bar hang over the edge of the anvil about 1/2" and set down on two sides, then I taper it back to my twist. Do the same thing on the other end | ||
Bill-Epps : |
|
|
|
Bill-Epps : |
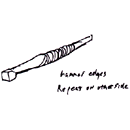
After we get it tapered down on both ends on the bias, I go to the horn and start flattening it. I use the horn to avoid getting a cold shunt at the set down point, then come back to the face and flatten it down until it is about 1/4" thick. | ||
Bill-Epps : |
|
|
|
Bill-Epps : |
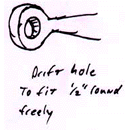
I do this on both ends, then I go to the back side of the anvil and round the ends up. Then I hot punch a hole in the center and drift til a 1/2" round fits freely. | ||
Bill-Epps : |
|
|
|
Bill-Epps : |
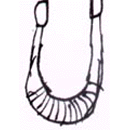
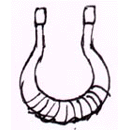
We bend it in a "U" similar to a horseshoe and make sure that the holes line up. I set it in just a little bit just below the holes evenly on each side. | ||
Bill-Epps : |
|
|
|
Bill-Epps : |
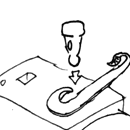
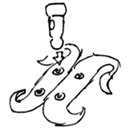
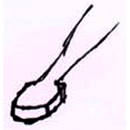
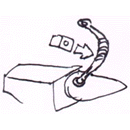
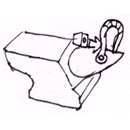
Now we use a 1/2" round pin about 3" long which leaves 1/2" sticking out on each side. Take a good heat and ball pien the end to make it swell. Repeat the same process on the other side. Be careful not to get your knocker too tight. Where the knocker hits the base plate, insert a rivet so that the knocker has a place to strike. | ||
Bill-Epps : |
|
||
Bill-Epps : |
It should look something
like this! Thanks. |
||
Bob-Rackers : |
The picture showed 4" spacing between rivets, and you later said 5" spacing | ||
Bill-Epps : |
I want to thank my son, Jay for doing the drawings for me. and I want to thank Kiwi for doing the Editing and making it possible for these to come up for your view. | ||
bbb : |
how much would it sell for? | ||
Bill-Epps : |
Yes, 4" is too close because that is what your knocker ends up, you need to go to 5". | ||
Bill-Epps : |
I sell these for about $100.0 | ||
J-J : |
Bill, since value is a relative thing in different places of the country, Bill, i'm more interested in how long it should take a proficient smith to make one? | ||
bbb : |
how long to do and what do you finish it with? | ||
Bill-Epps : |
About an hour 1/2 to 2 hours. I wire brush it when it is hot, and then spray it with clear. Finish is sort of optional. | ||
Bob-Rackers : |
Why did you use a second hammer on the ball pien to texture, rather than the ball pien by itself? | ||
Bill-Epps : |
Bob-R, it is easier to control the texture by hitting it with another hammer that free swinging a ball pien. Your indentations are more even. When you swing a ball pien they vary. I've done it both ways, this looks better. | ||
Bill-Epps : |
I use a 3" cup wirebrush on a sander/polisher that only turns about 2500 rpm. | ||
